A Beginner’s Guide to Starting Your First Blade
Ever thought about creating your very own knife? Maybe you’ve admired the sleek lines of a chef’s knife or the rugged durability of a hunting blade and wondered, “Could I make one of these myself?” Well, you absolutely can! Knife-making is an age-old craft that combines creativity, skill, and patience.
In this beginner’s guide, we’ll take you through the basics of crafting your first blade—from selecting materials to that first satisfying cut. Get ready to have some crazy bragging rights on your new hunting trip.
Step 1: Selecting Your Materials
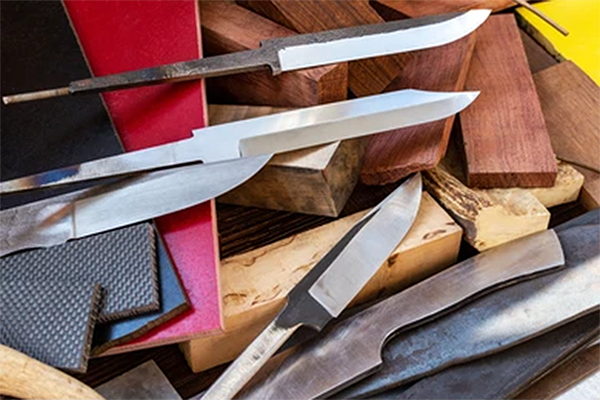
Before you can start hammering away like a blacksmith, you need to gather your materials. For your first knife, keep it simple and focus on learning the basics.
Steel: For beginners, high-carbon steel is a great choice. It’s easier to work with and maintains a sharp edge well.
Popular types of steel for knife making include 1095, 1084, or even stainless steel, but high-carbon steel is forgiving for a first-timer.
Handle Materials: The handle (or scales) can be made from a variety of materials—wood, synthetic materials like G10, or even bone. Wood is an excellent starting point since it’s easy to shape and adds a classic look.
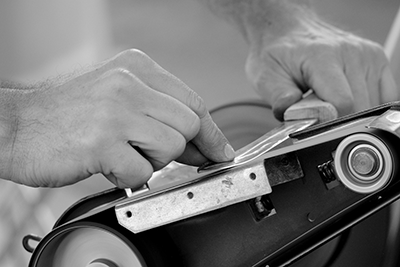
Tools: You’ll need a few basic tools to get started: a hacksaw or angle grinder to shape the blade, files to refine the edges, a hammer, an anvil (or similar hard surface), and a belt grinder to smooth and sharpen your knife. Don’t forget safety equipment like gloves and eye protection!
Step 2: Design Your Blade
This is where you get to be creative! Decide what kind of knife you want to make. Will it be a chef’s knife, a hunting knife, or maybe a small utility knife?
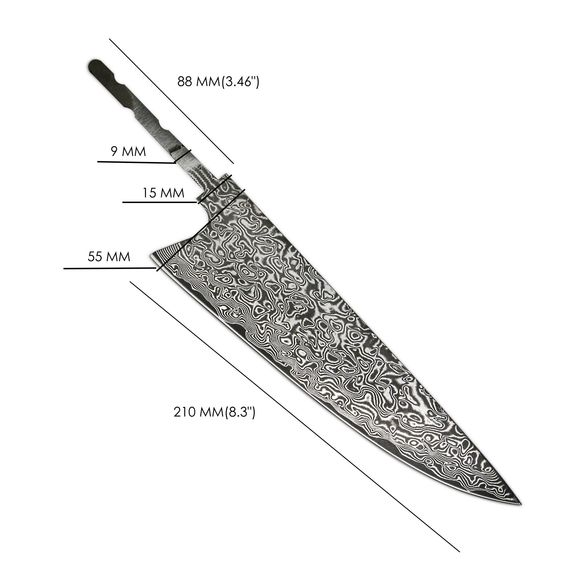
Blade Profile: Start by sketching your design on paper. Focus on the blade’s shape, including the edge and spine, as well as the tang (the part of the blade that extends into the handle). A full tang is ideal for beginners as it provides balance and durability.
Blade Size: Keep it manageable! A blade that’s around 8-10 inches in total length is a good size for beginners. It’s large enough to work with but not too overwhelming.
Once you’ve designed the knife, transfer the pattern to your steel by tracing it with a marker.
Step 3: Shaping the Blade
Precision Cutting:
In the world of professional cooking, precision is key. One wrong cut and that delicate fish or perfectly ripened tomato is toast. High-carbon knives, with their razor-sharp edges, allow chefs to make those picture-perfect slices every time. It’s like having a laser beam in your hand, except way cooler and much better for cutting vegetables.
Ease of Sharpening:
Sure, high-carbon knives need sharpening now and then, but here’s the good news—they’re much easier to sharpen than stainless steel knives. A few passes on a sharpening stone, and you’ll have a blade that’s back to being sharper than your culinary skills. Plus, sharpening can be oddly therapeutic, like honing a fine-tuned instrument.
Control and Comfort:
Let’s talk about the feel. High-carbon knives often have a bit more weight to them, which helps chefs maintain control and balance during long hours of chopping. That extra heft makes it feel solid and reliable in your hand, kind of like the trusty friend who always helps you move furniture.
Step 4: Heat Treating Your Blade
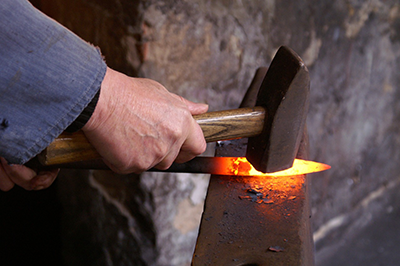
This is where the magic happens! Heat treating is a process that strengthens the steel and makes it hard enough to hold an edge.
Heating the Blade: Heat the blade evenly using a forge, propane torch, or even a basic makeshift forge until it reaches a cherry red colour (around 1,500°F). At this point, the steel should be non-magnetic, meaning it’s ready to quench.
Quenching: Carefully dunk the heated blade into oil to rapidly cool it. This hardens the steel but also makes it brittle, so the next step is crucial.
Tempering: After quenching, temper the blade in an oven at around 400°F for an hour. This relieves some of the internal stresses, making the blade tough but not brittle.
Step 5: Adding the Handle
Now it’s time to add the handle to your blade. This is where your knife starts to feel more complete.
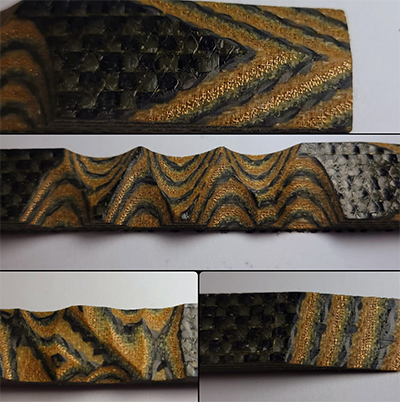
Attaching the Scales: Cut your chosen handle material into two pieces (called scales) and attach them to either side of the tang. Use epoxy to glue them in place and secure them with pins or rivets for added strength.
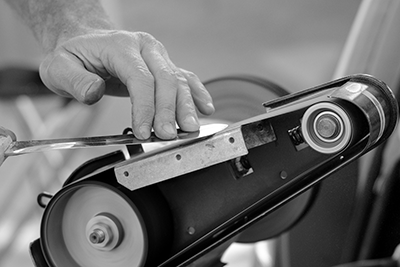
Shaping the Handle: Once the glue dries, use files, sandpaper, or a belt grinder to shape the handle. Focus on creating a smooth, ergonomic grip that feels comfortable in your hand.
Step 6: Polishing and Sharpening
With the handle in place, your knife is nearly complete! Now comes the final touches.
Polishing: Use finer grits of sandpaper or polishing compounds to give the blade a smooth, finished surface. If you want to go the extra mile, you can even etch your initials or a pattern onto the blade.
Sharpening: Use a sharpening stone or belt grinder to put the final edge on your blade. Take your time and aim for a razor-sharp edge that slices effortlessly through paper.
And there you have it! You’ve just completed your first handmade knife. Knife-making is an art that takes practice and patience, but the reward is worth it. As you gain experience, you’ll develop your own style and techniques, creating unique blades that are both functional and beautiful. So, whether you’re looking to craft kitchen knives, hunting blades, or even collectables, the journey starts with that first slice into steel. Happy forging!
Ready to start your knife-making journey? Grab some steel, fire up the forge, and let your creativity flow. Whether you're a hobbyist or aspiring craftsman, there's nothing quite like holding a knife you made with your own hands.

